I want to present Roombler for you from the perspective of an user. So this post is a walk-through of all the main functionality that we have.
Login
The login screen consist of two modes. If no one is logged in on the device, a login form is shown.
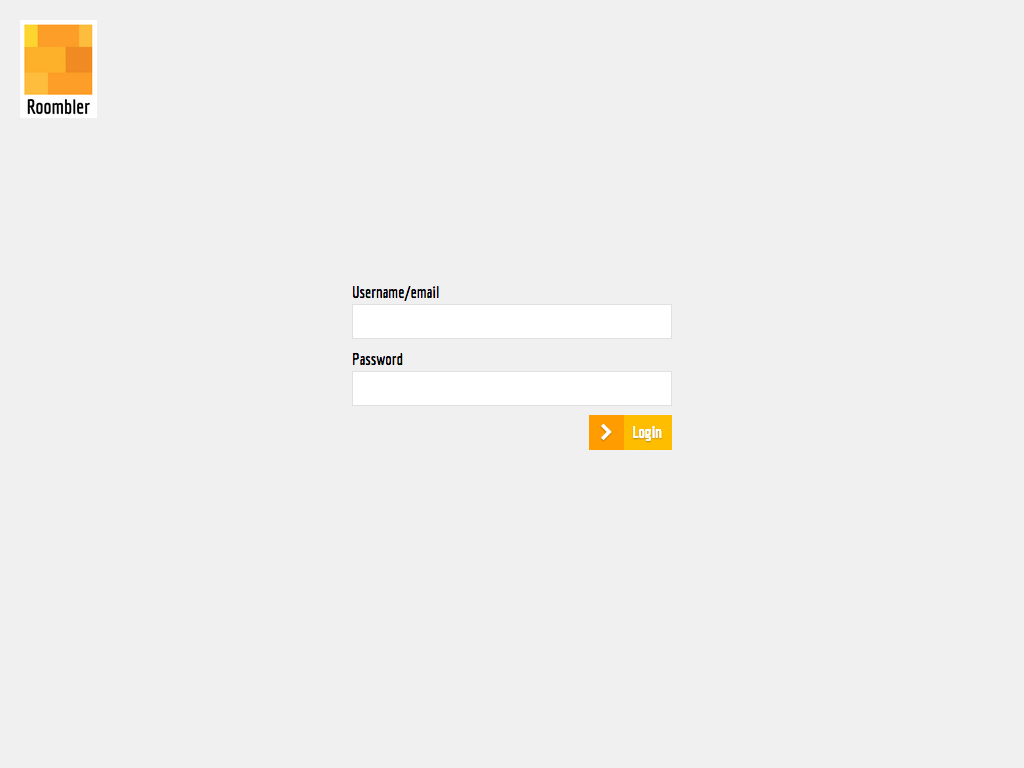
When one or more user is logged in those users are displayed as choices and you can access the hotel(s) for those users by clicking on one of those choices.
If the user that logs in has one hotel that it can access, you're immidiatly taken to the booking grid for that hotel. However, if the user has access to more then one hotel (for example in the case where the hotel is part of a small chain), a screen for choosing hotel is shown. When the user picks one of the available hotels he/she is taken to the chosen hotel's booking grid.
Setup your hotel
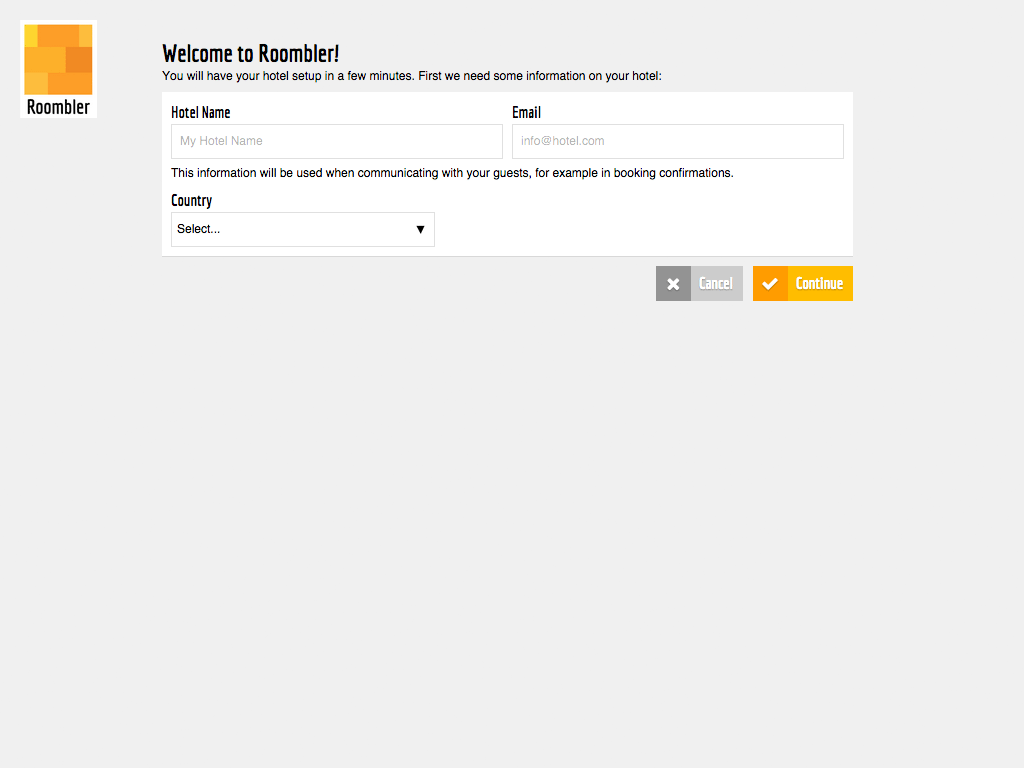
If it is your first time logging in, your first task will be to create your hotel. First, enter your hotel's name, the contact mail you want to use and what country the hotel is located in. Selecting the correct country is important as it sets what taxes will apply on bookings and other articles you will sell and what currency will be used.
Then it is time to configure your room types and its corresponding rooms. Here you will set a base price, which can be altered later on by changing the pricing rules (see below).
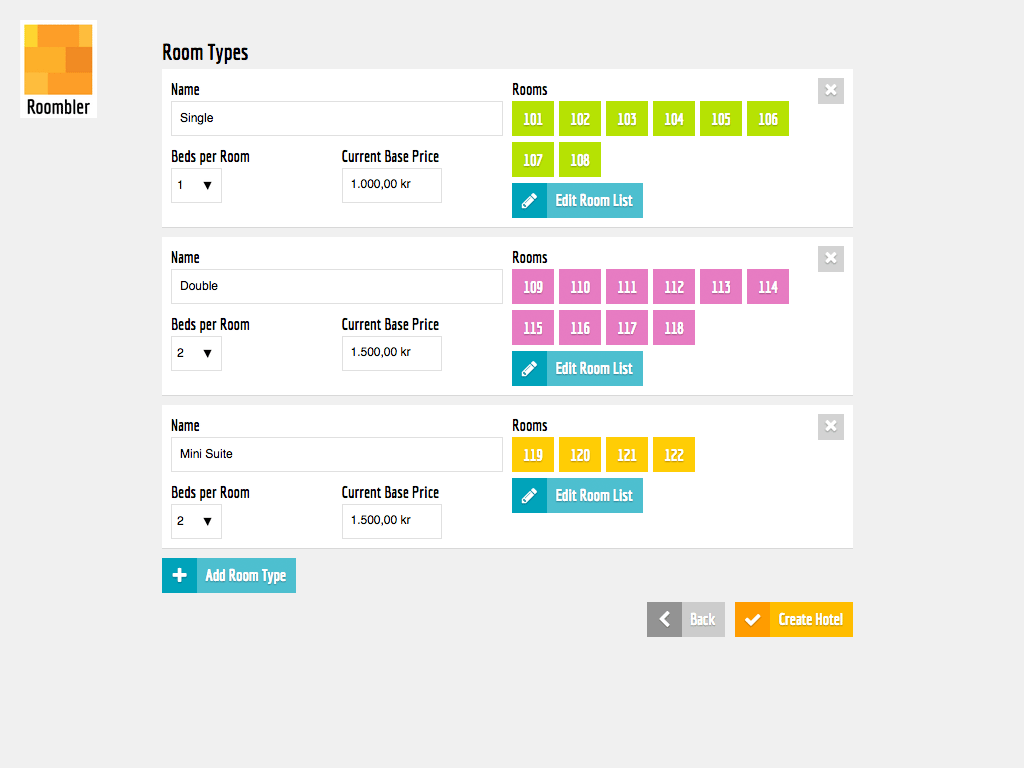
With this, your initial hotel setup is done and you're ready to start using Roombler!
Navigate the booking grid
The booking grid is designed to give you a good overview of what rooms are booked. The rooms are laid out according to what room type they belong to. Each booking is coloured according to that room's room type and if there is a double booking, those conflicting bookings will be shown in red. To change what dates are visible, just swipe to the left or to the right. At the bottom you can use the date handle to make bigger jumps in time more quickly.
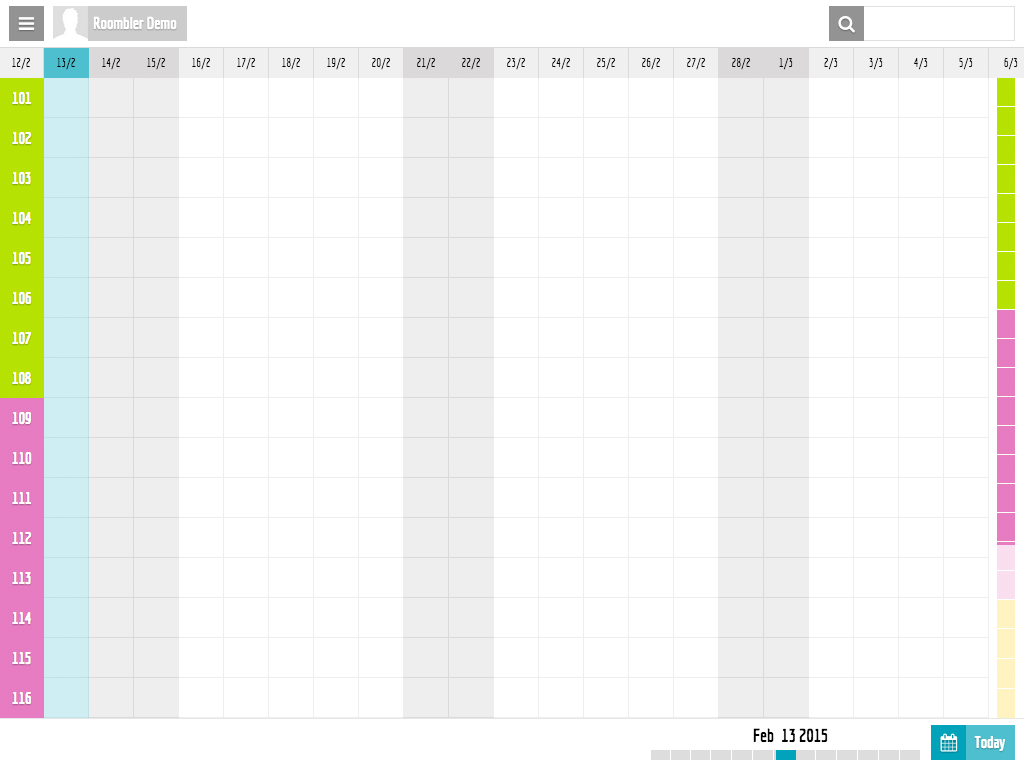
You can also manipulate the bookings directly in the grid. You can move them around, changing room and arrival and departure. You can increase or decrease the length of stay. When you mark a booking some quick info is displayed about the booking such as calculated price and the name of the booker. If the arrival date is today, you can also quickly mark the booking as checked in.
If the hotel is closed (see details about availability later on) those days are marked with red. You can still place bookings here, but you will visually see that they are placed on a day that is set as closed.
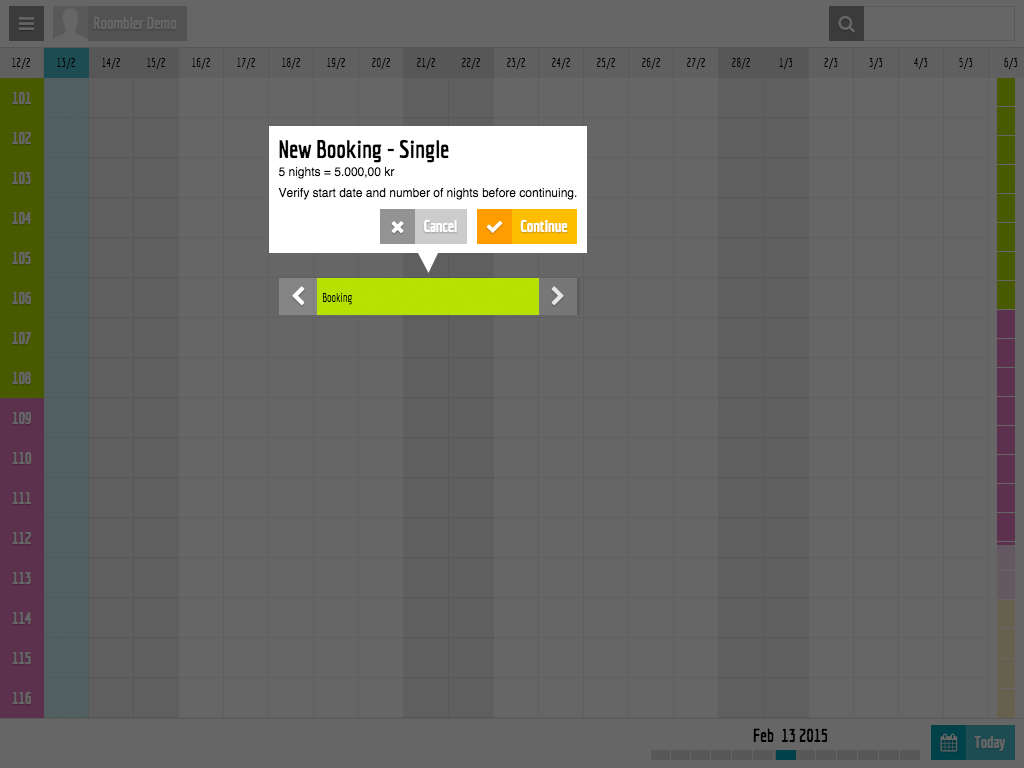
Create a booking
To create a new booking you click on an empty day/room in the grid. You can adjust the length of stay by dragging the arrows. When done, tap continue to proceed with the booking.
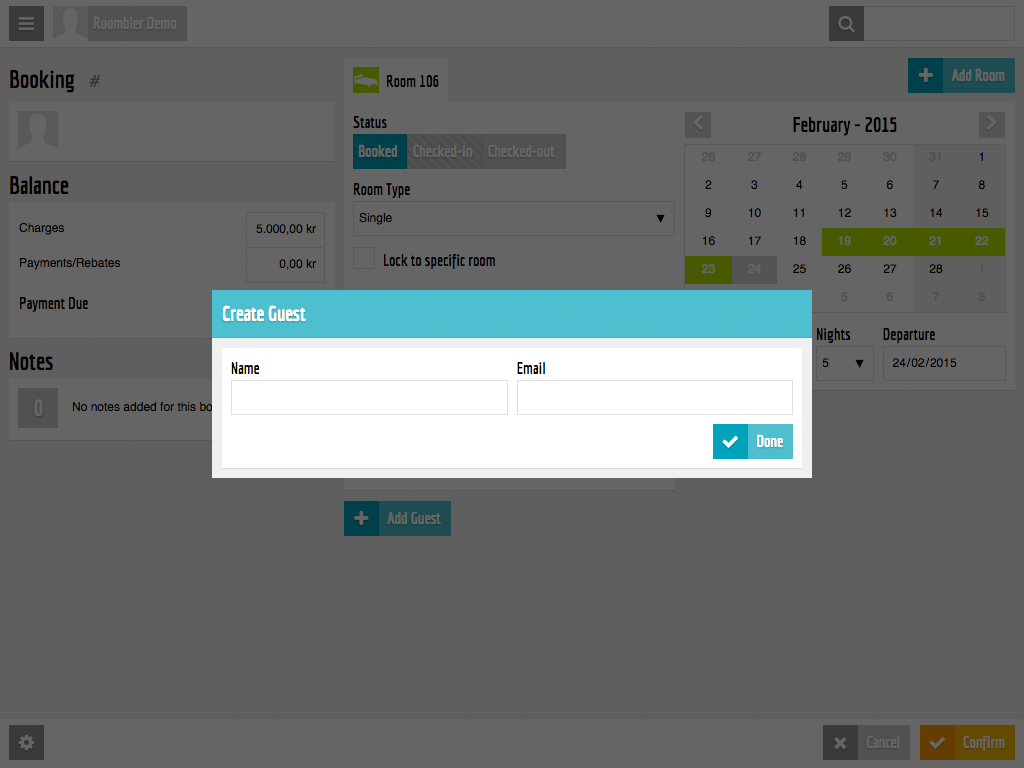
When creating a new booking you will be prompted to enter the name of the booker and the email. You can skip this step but we recommend that you enter these details at this point. When entering the booker's name you will get suggestions on previous guests, so you don't need to register recurring guests. Tap the Done-button to continue.
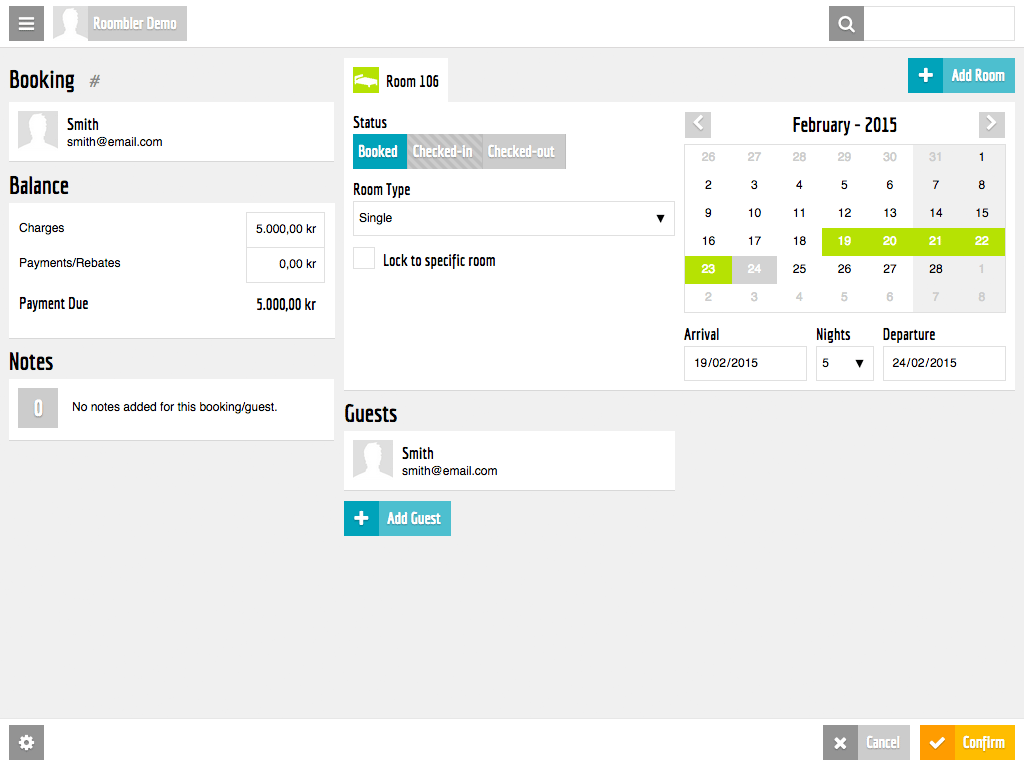
You are now at the Booking card for your new booking. On this screen you can:
Add Rooms - by tapping the Add room-button in the top right corner (see Add multiple rooms below)
Add Charges/Payments - by tapping the Balance-panel (see Edit Charges/Payments below)
Add Notes - You can add notes with important information to the booking or specific rooms/guests
Add multiple rooms to a booking
By tapping on the Add Room-button on the booking screen you open the following dialog:
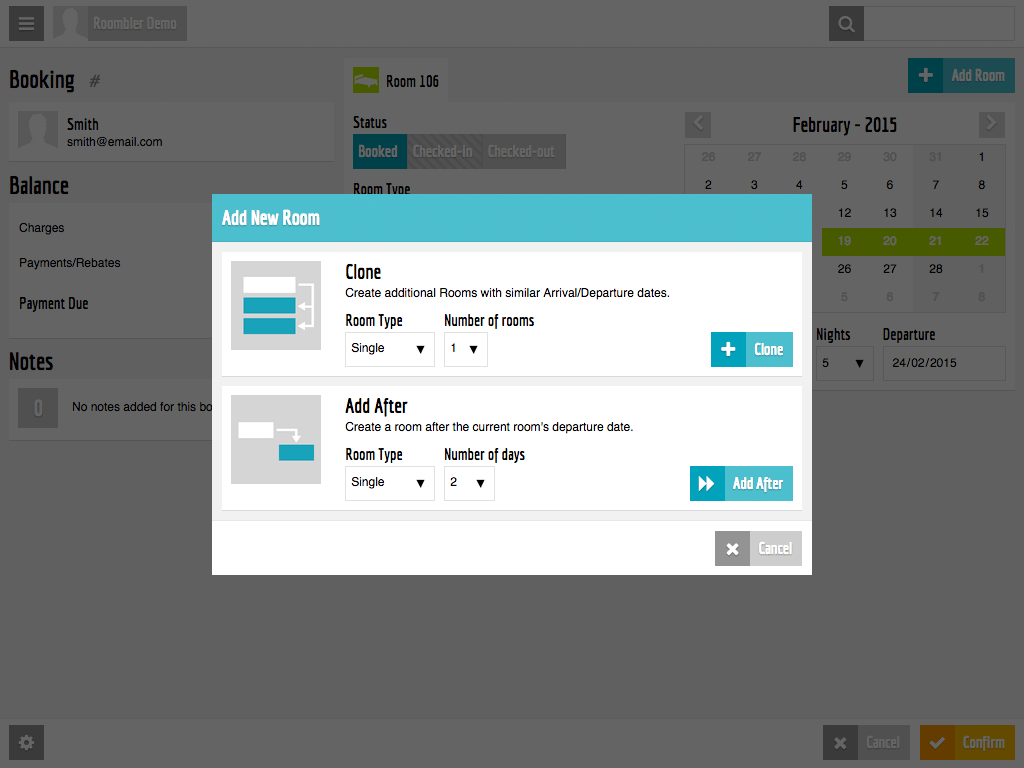
You have two options when adding new rooms:
Clone - This will create new rooms with the same arrrival/departure. You can select room type and how many rooms to add, and then tap the Clone-button. to continue.
Add After - This means that you add a new room after the current. You can select the number of days and type of room, and then tap the Add After-button to continue.
Edit charges/payments
By tapping on the balance panel on the booking screen you open the following dialog:
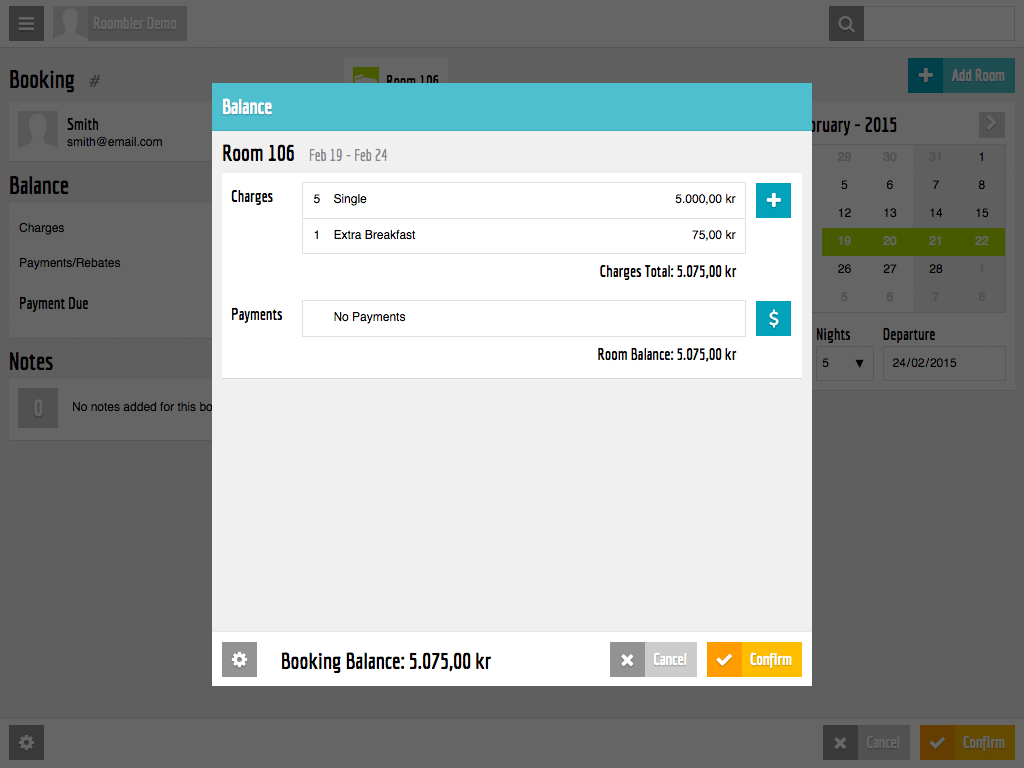
Here you can see all charges and payments/rebates for the current booking.
Add charges - tap on the button with a plus icon to the right of the charges table. Enter the name/price/quantity of the charge and make sure it has the correct tax(es) selected, and tap the Add-button.
Add payment/rebate - tap on the button with a dollar icon to the right of the payments table. Select if you are adding a payment or a rebate, enter the paid amount and tap the Add-button.
Hotel settings
You open the settings page by tapping on the menu icon in the upper left corner of the app, then again on Settings.
Here you can change your hotel settings, room types and setup rules for pricing and availability by selecting the corresponding tab in the left column.
Pricing Settings
![Pricing settings]
On this screen you can change the price for the different room types, and setup rules on how the price should change over time.
Example - Your rooms should have a higher price on weekend nights during the summer, you do the following:
- Tap the Add Pricing Period-button
- Select the new price
- Select the week-nights friday to saturday
- Select the period the new pricing should be applied, by changing effective from Always to Period, and enter the start and end date.
Note: if two or more rules affects the same night the bottom-most rule is used.
Availability settings
![Availability settings]
On this screen you can change when the hotel is available for booking.
Example - Your hotel should only be bookable on weekend night until the start of the next year.
- Tap the Add Availabilty Period-button
- Select that the hotel should be closed
- Select the week-nights friday to saturday
- Change effective from Always to From, and enter the start date.
Note: if two or more rules affects the same night the bottom-most rule is used.
Updates in real time
Whenever you tap the confirm button on a booking, this booking is saved to the Roombler server. This means that the booking will now be availabe on all the devices that you have installed the Roombler app.
Work offline
If you make changes while you are offline, all changes will be put in a queue that will be synchronized as soon as the device is able to connect to the Roombler server.
If you have unsynched bookings, you will see a synchronize icon in the top part of the screen.